

Key Takeaways
Why Caulk Breaks Down in the Bathroom
Bathroom caulk works hard. It bridges the gap between surfaces that expand and contract with temperature changes, endures daily splashes, and battles persistent humidity. Over time, even properly installed caulk will degrade - but several avoidable mistakes cause it to fail far sooner than it should.
The most common culprits are moisture trapped beneath the surface, movement between substrates that the caulk can't flex with, and mold that breaks down the material from within. Understanding why failure happens is the first step toward a repair that actually lasts.
~5 years
Average lifespan of bathroom caulk
Industry estimates suggest properly installed silicone caulk in a bathroom lasts approximately five years before requiring replacement, though poor prep or the wrong product type can shorten that significantly.
90%+
Of caulk failures linked to surface prep
Professional tile contractors commonly attribute the vast majority of premature caulk failures to inadequate surface preparation - particularly residual moisture or soap film at the time of application.
Common Caulking Mistakes and How to Avoid Them
Most caulk failures trace back to one of a handful of predictable errors made during removal, preparation, or application. The good news is that each one is entirely preventable with a little extra attention.
Applying new caulk directly over old, failing caulk without removing it first.
Why it happens: It feels like the faster fix, and the fresh caulk temporarily hides the problem underneath.
Using an interior latex paintable caulk in a wet shower or tub surround.
Why it happens: Latex caulk is widely available, easy to apply, and paintable - features that make it appealing even in the wrong setting.
Skipping surface prep and caulking over damp, dirty, or soapy surfaces.
Why it happens: Homeowners often want to tackle the job right after noticing the problem, without giving the surface time to dry or be cleaned.
Applying caulk in a thin, uneven bead that leaves gaps or voids.
Why it happens: Controlling a caulk gun takes a little practice, and many first-timers move too quickly or apply too little pressure.
Exposing freshly applied caulk to water before it has fully cured.
Why it happens: Cure times aren't always visible on the front of the packaging, and the caulk looks and feels set long before it actually is.
Black Mold Behind Caulk Is a Serious Concern
Surface mold on caulk is common and manageable, but if you notice black or greenish mold extending behind tiles or into drywall after removing old caulk, the problem goes beyond a simple re-caulk. Mold inside wall cavities can affect air quality and structural integrity. In that situation, stop work and consult a licensed contractor or mold remediation specialist before proceeding.
How to Re-Caulk a Bathroom the Right Way
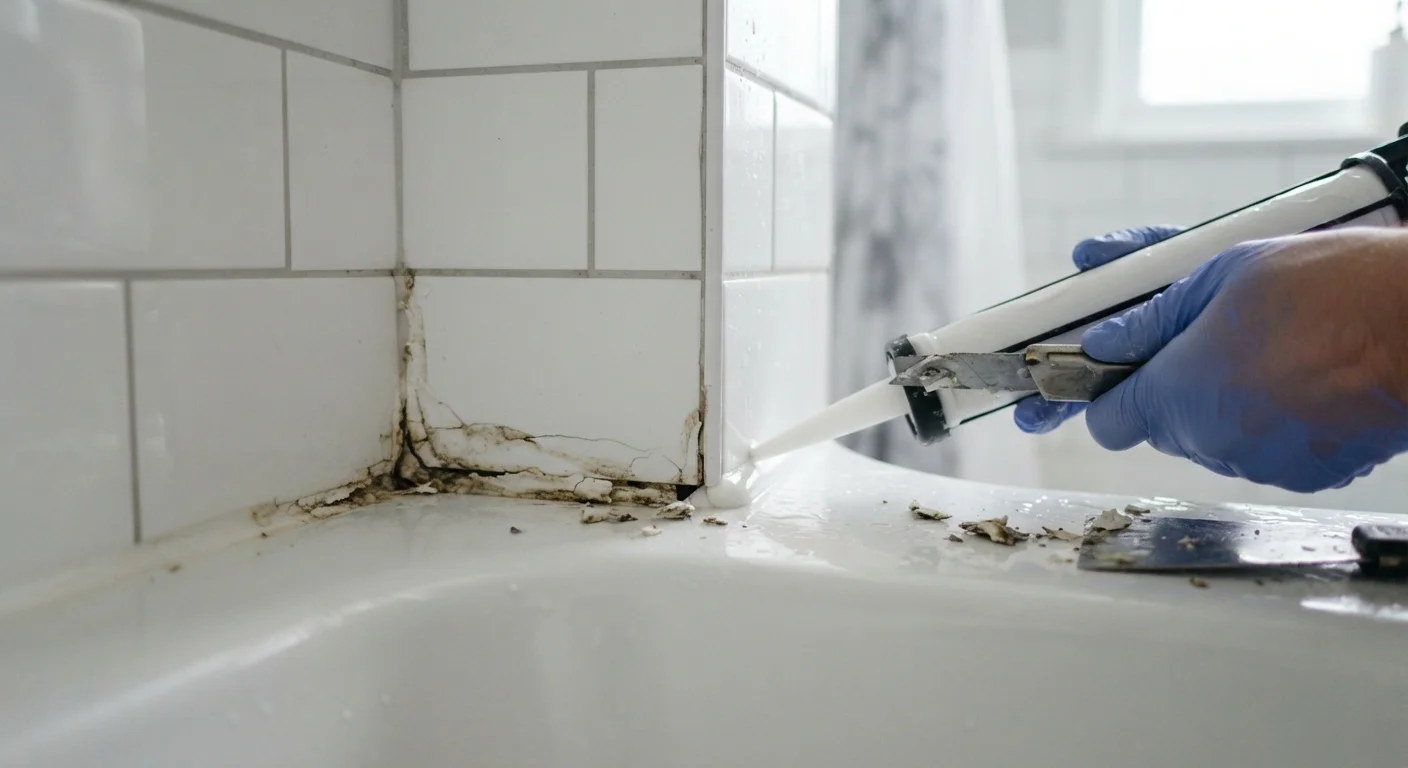
Once you understand what causes failure, the re-caulking process becomes straightforward. Start by removing every trace of old caulk using a plastic scraper or an oscillating tool with a scraper blade. Avoid metal blades on acrylic tubs and fiberglass surrounds - they scratch easily.
After removal, clean the joint thoroughly with isopropyl alcohol or a dedicated caulk remover product to eliminate soap scum, body oils, and any residual adhesive. Let the surface dry completely - if possible, wait 24 hours in a well-ventilated bathroom before applying new caulk.
When applying, cut the caulk tube tip at a 45-degree angle and aim for a bead slightly wider than the gap you're filling. Pull the gun smoothly in one continuous motion rather than pushing it. Wet your fingertip or use a caulk-smoothing tool to press the bead into the joint and create a concave surface that sheds water rather than collecting it.
Keep the bathroom dry and ventilated during the cure period. Check the product label for the manufacturer's recommended cure time - most silicone formulas are touch-dry in a few hours but need 24 to 48 hours before full water exposure. Rushing this step is one of the most common reasons a fresh caulk job fails within weeks.
This article provides general home maintenance guidance for informational purposes only. For work involving structural elements, plumbing connections, or surfaces requiring professional assessment, consult a qualified contractor. Always verify that any repair work complies with local building codes.