

Key Takeaways
Understanding the Scale of Your Repair
Drywall damage falls into three rough categories, and choosing the right method from the start saves time and avoids rework. Small imperfections-nail holes, picture-hook dimples, and hairline cracks-can be filled in minutes with spackling compound. Medium-sized holes from doorknob strikes or anchors that pulled out (roughly one to six inches across) need a backing layer to support the compound. Large holes require a structural patch with a new piece of drywall attached to backer boards or existing studs.
Before gathering materials, confirm there is no moisture problem behind the wall. Soft or discolored drywall is a signal to investigate further rather than patch over the surface.
Moisture Damage Requires More Than a Patch
If drywall is soft, stained, or shows mold growth, patching over it will not solve the underlying problem. Identify and correct the moisture source-a roof leak, plumbing drip, or condensation issue-before replacing the affected drywall. Covering active moisture damage can worsen structural problems and create conditions that affect indoor air quality.
Once you've sized up the repair, gather your tools and materials.
Putty knife or drywall knife (3-6 inch)
Spreads and feathers joint compound or spackling over repaired areas.
Drywall saw or utility knife
Cuts damaged drywall cleanly when creating a patch opening.
All-purpose joint compound
Fills, coats, and blends patches into the surrounding wall surface.
Self-adhesive mesh patch kit
Provides a ready-made backing for holes up to six inches without cutting new drywall.
Sandpaper (120- and 220-grit)
Smooths dried compound between coats and before priming.
Primer
Seals repaired areas so topcoat paint adheres evenly without flashing.
1×3 or 1×4 wood backer strips
Provides structural support behind large patch pieces when no stud is nearby.
Drywall screws and screw gun
Fastens backer boards and new drywall patch pieces securely in place.
Step-by-Step Repair Instructions
Follow the steps below in order, selecting the technique within each step that matches your damage size. Thin coats, adequate drying time between passes, and careful sanding are what separate a seamless repair from a noticeable bump.
What you will need
Assess the damage and choose your repair method
Measure the damaged area. Nail holes, small dings, and cracks under ¼ inch wide call for lightweight spackling. Holes from one to six inches across are good candidates for a self-adhesive mesh patch kit or the California patch method. Holes larger than six inches-or damage near electrical boxes-typically require a cut-in backer-board repair using a new piece of drywall.
Prepare the surface
Remove any loose paper, crumbled gypsum, or protruding nail heads. For nail pops, drive the nail slightly below the surface with a hammer and nail set, then add a drywall screw one inch above and below the pop to re-secure the panel to the stud. Wipe the area clean of dust with a slightly damp cloth and let it dry completely before applying any compound.
Fill nail holes and hairline cracks
For small imperfections, press a thin layer of spackling compound into the hole with a 3-inch putty knife. Overfill slightly, then drag the blade across at a shallow angle to scrape away excess. Let it dry per the manufacturer's guidance-typically one to two hours for lightweight spackling. Sand flush with 120-grit paper, then follow with 220-grit for a smooth finish.
Patch medium holes with a mesh kit or California patch
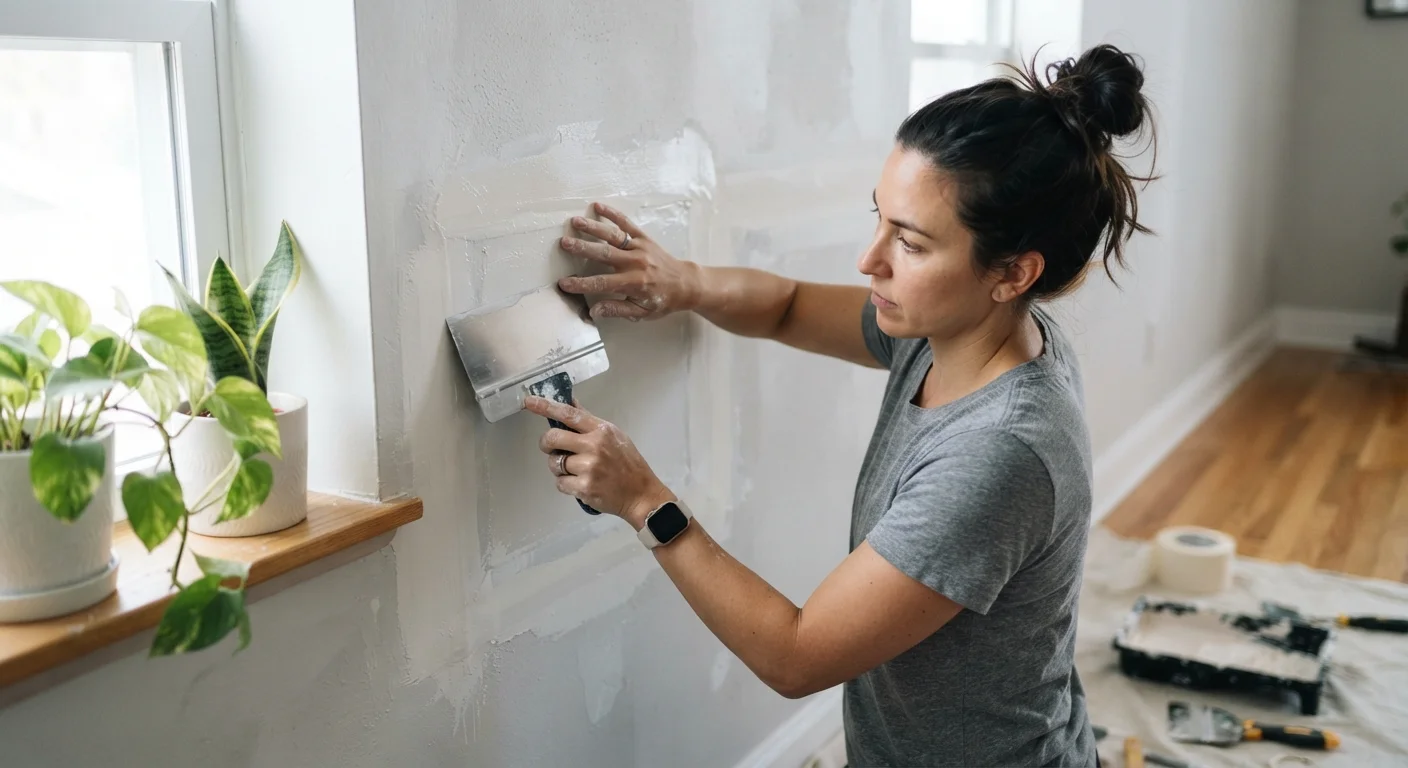
Mesh kit method: Center a self-adhesive fiberglass mesh patch over the hole and press firmly. Apply a coat of all-purpose joint compound over the mesh with a 6-inch knife, pressing compound through the mesh and feathering edges outward. Let dry fully, then apply a second coat wider than the first, feathering edges at least 6-8 inches from the hole. Sand smooth after drying.
California patch method: Score and snap a piece of drywall slightly larger than the hole. Carefully peel back the gypsum from a 1-inch border on the back, leaving a paper flap all around. Fit the gypsum core into the hole, fold the paper flaps onto the surrounding wall, and adhere with joint compound. This paper border acts as a built-in tape layer for a strong bond.
Repair large holes with a backer-board patch
Use a drywall saw or utility knife and a straight edge to cut the damaged area into a clean rectangle. Cut two pieces of 1×3 or 1×4 lumber slightly longer than the opening's height. Slide each backer strip into the opening behind the wall surface and drive drywall screws through the existing drywall into each strip-one screw near each end-to clamp them in place. Cut a new drywall piece to fit the opening exactly, screw it to the backer boards, then apply mesh joint tape over all seams. Coat with joint compound in at least three thin passes, letting each coat dry completely before the next.
Sand, prime, and paint
Once your final coat of compound is fully dry, sand progressively-start with 120-grit to knock down ridges, finish with 220-grit for a smooth surface that matches surrounding texture. Wipe away dust with a tack cloth or damp rag. Apply a coat of drywall primer (a PVA primer is a common choice for fresh patches) and let it dry. If the original wall has a texture such as orange peel or knockdown, replicate it before priming using a hopper gun, a sponge, or a can of spray texture. Finish with your topcoat paint color.
Match Texture Before You Paint
Skipping texture matching is the most common reason a repair stays visible after painting. Study your wall's existing surface carefully-smooth, orange peel, knockdown, and skip-trowel each require a different application tool and technique. Practice on a scrap piece of drywall or cardboard first so you can dial in the pattern before applying it to the repair.
Common Mistakes and How to Avoid Them
Even simple drywall repairs go sideways when a few fundamentals are ignored. Here are the pitfalls that catch homeowners most often:
- Applying compound too thick: Joint compound shrinks as it dries. Layers thicker than ⅛ inch crack reliably. Three thin coats always outperform one heavy one.
- Sanding too aggressively: Over-sanding cuts into the paper face of surrounding drywall, creating a fuzzy surface that soaks up paint unevenly. Use light pressure and let the grit do the work.
- Skipping primer: Bare compound is highly porous. Paint applied directly to it looks flat and dull compared to surrounding surfaces-a flaw that doesn't go away with additional paint coats.
- Ignoring texture: Even a perfectly level repair stands out if the wall around it has orange-peel or knockdown texture. Match the finish before priming for results that disappear into the wall.
Don't Skip the Primer Step
Applying paint directly over fresh joint compound causes 'flashing'-patches of flat, dull color that remain visible even through multiple paint coats. A single coat of PVA or drywall primer seals the porous compound and ensures your topcoat bonds and reflects light the same way as the surrounding painted wall.
When a repair involves cracked drywall along a long seam, over a doorway, or in a corner, consider whether settling or structural movement caused the crack. Recurring cracks in the same location-especially diagonal cracks from window or door corners-may indicate something beyond a cosmetic issue. A structural engineer or experienced contractor can assess whether the wall movement warrants professional evaluation.